 For the last few years over the summer I have run weekend casting classes as an introduction to Lost Wax casting. I found that it was getting difficult to get everything into two days, so for 2016 I have decided to extend the classes to three days over a weekend , Friday to Sunday.
The dates I am running classes are as follows.
1st -3rd April 2016 3 places left
5th -7th August 2016 5 places left
30th September-2nd October 2016 5 places left
To secure a place contact me and I will send details, 50% deposit required.
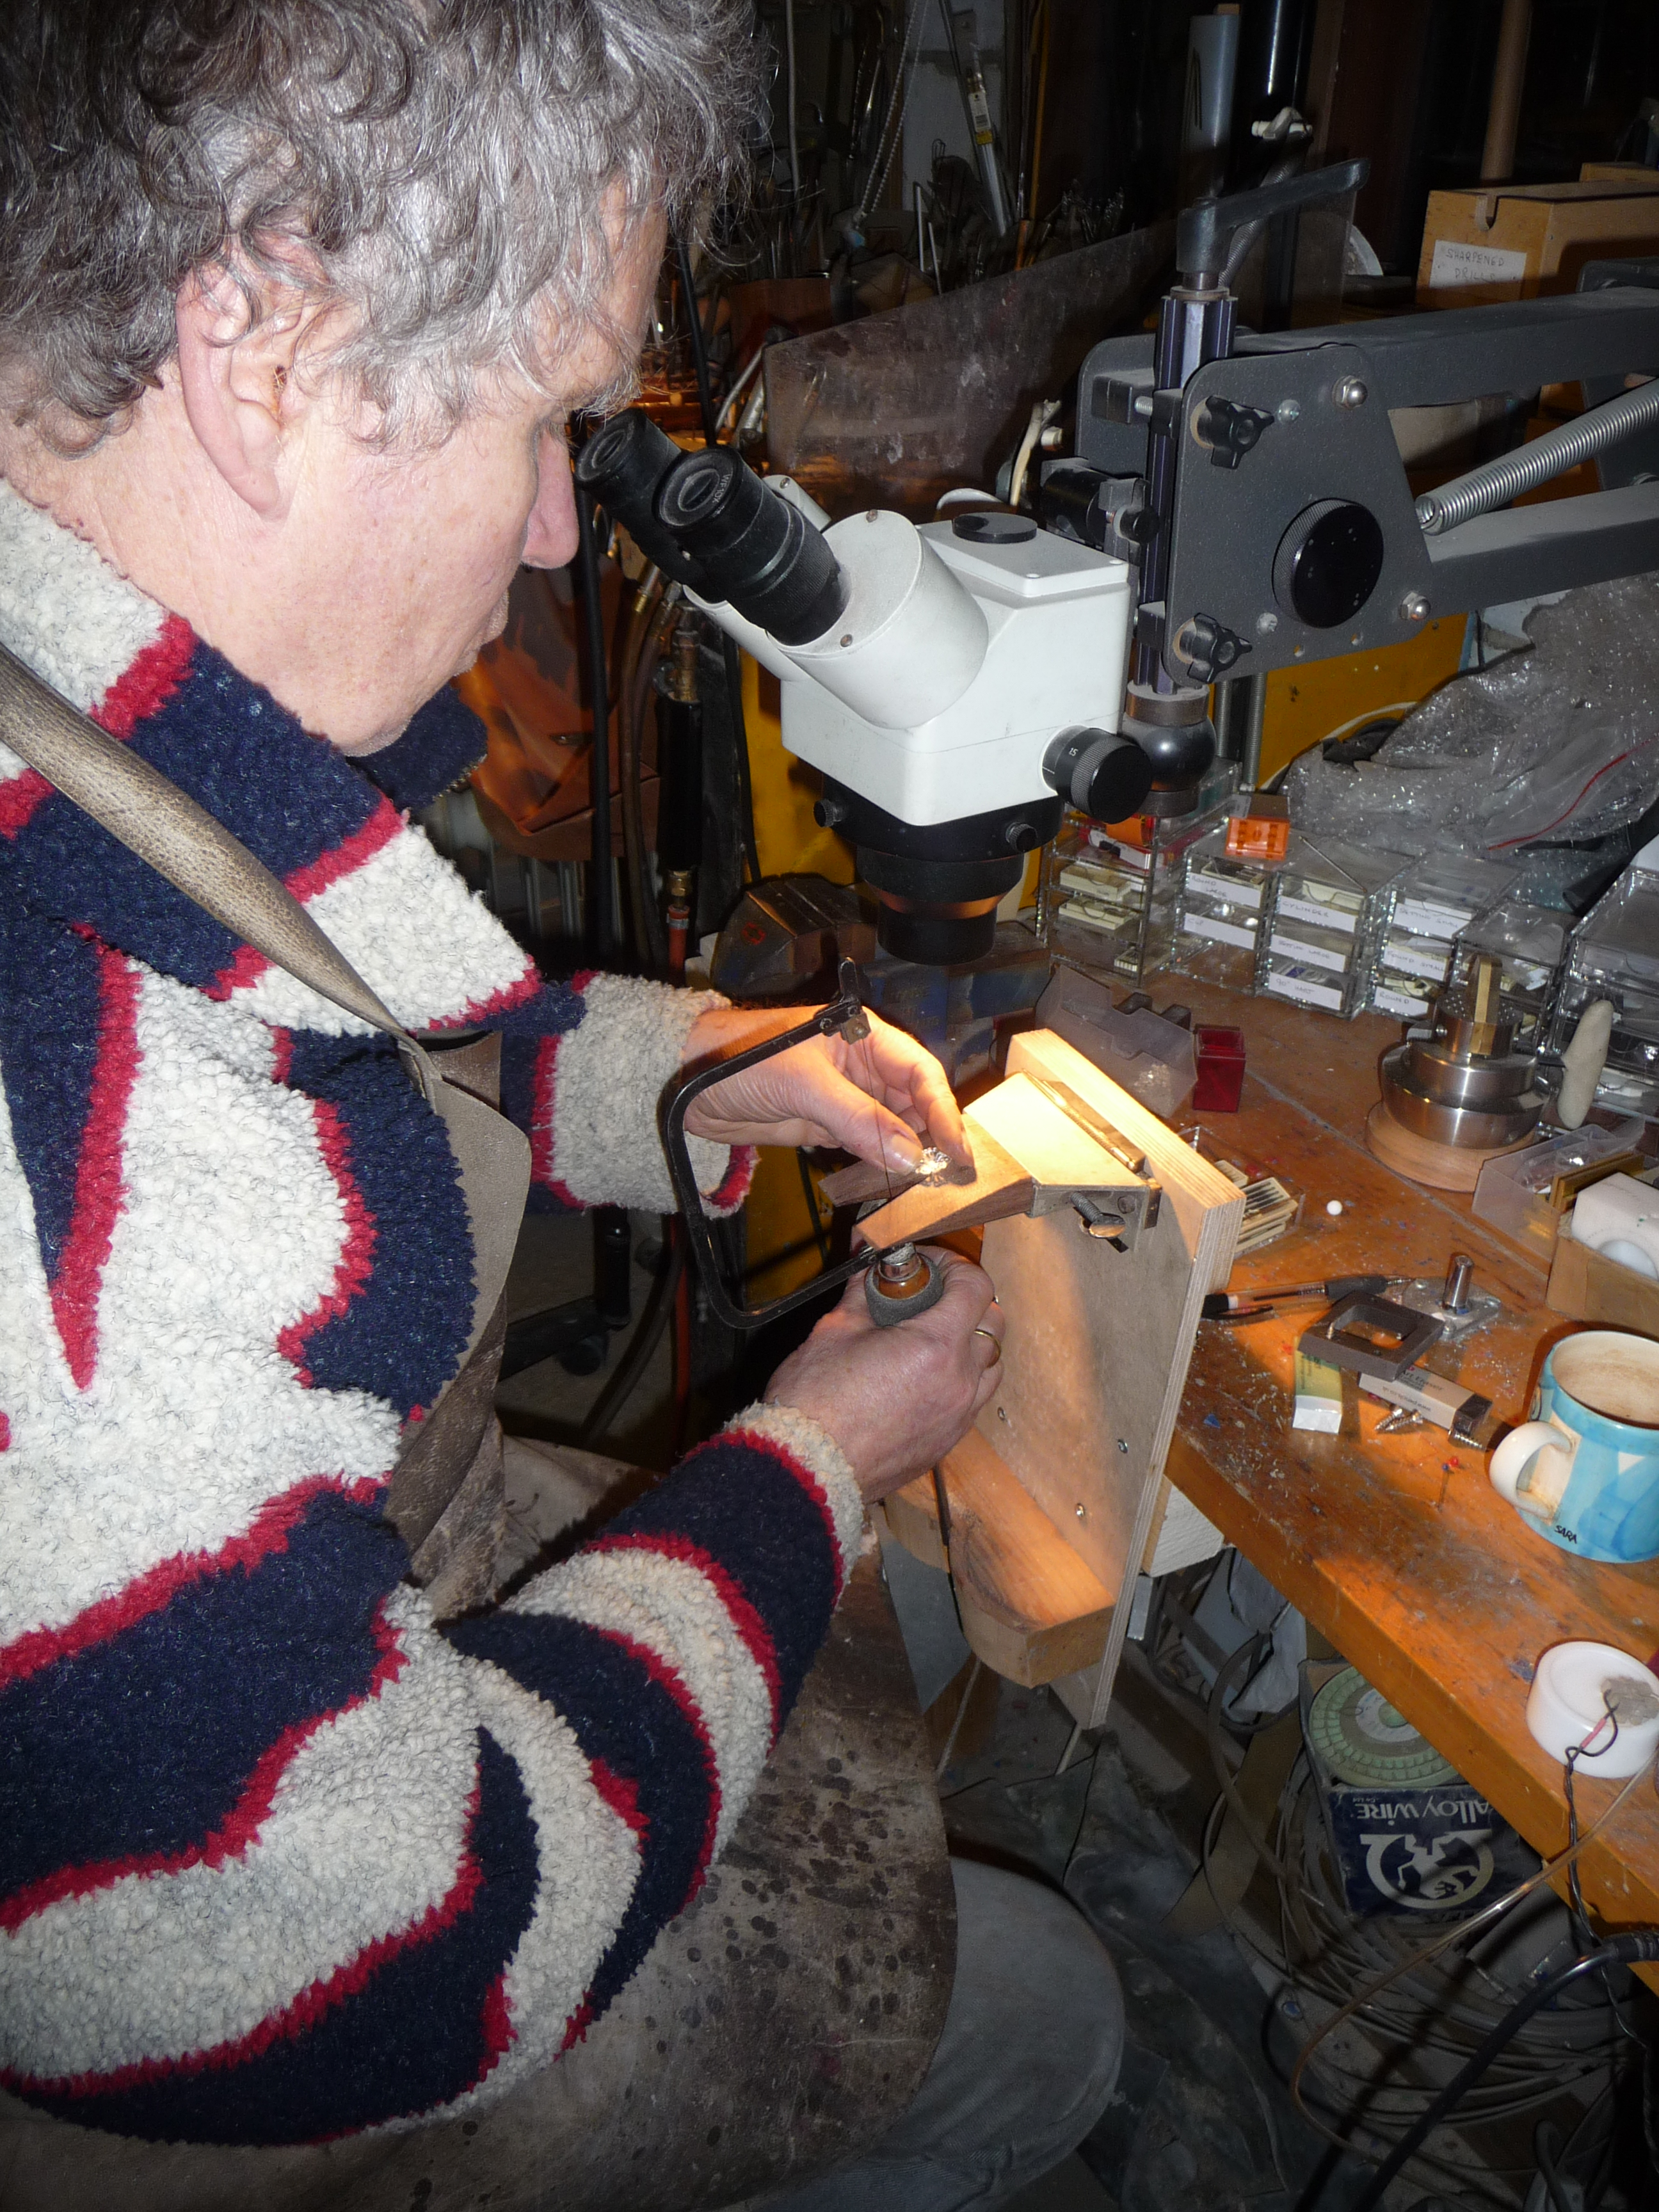
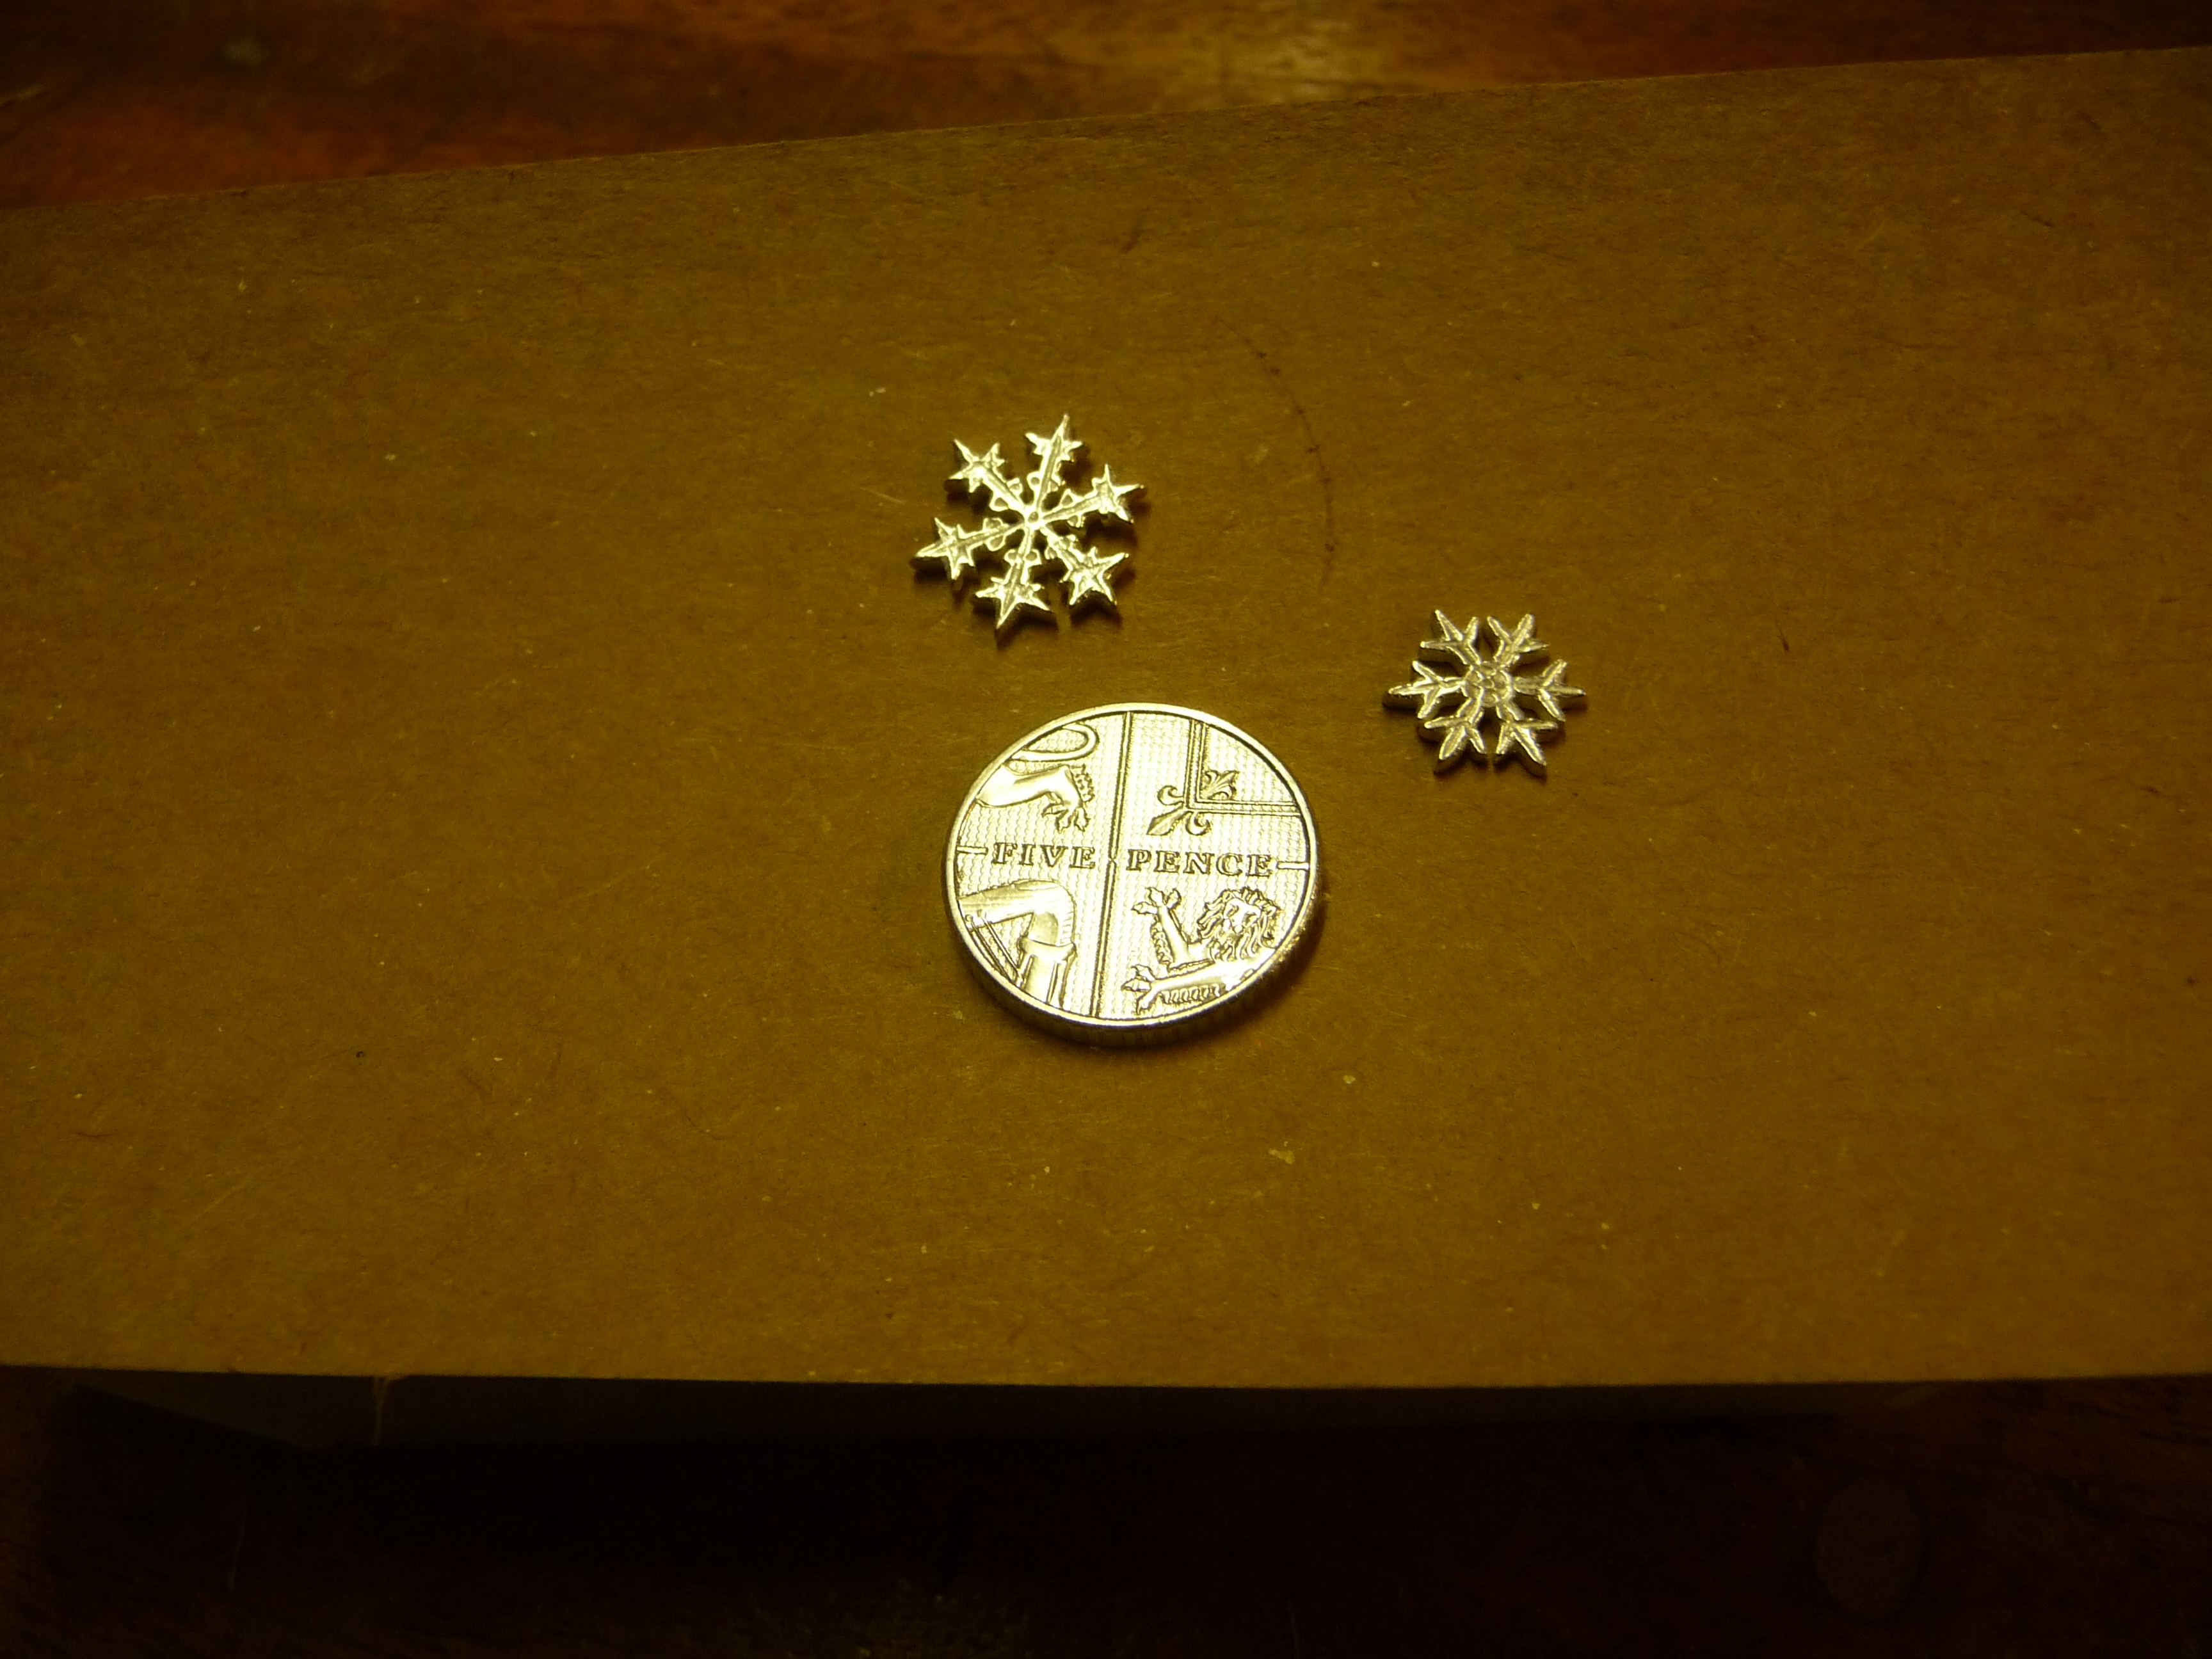
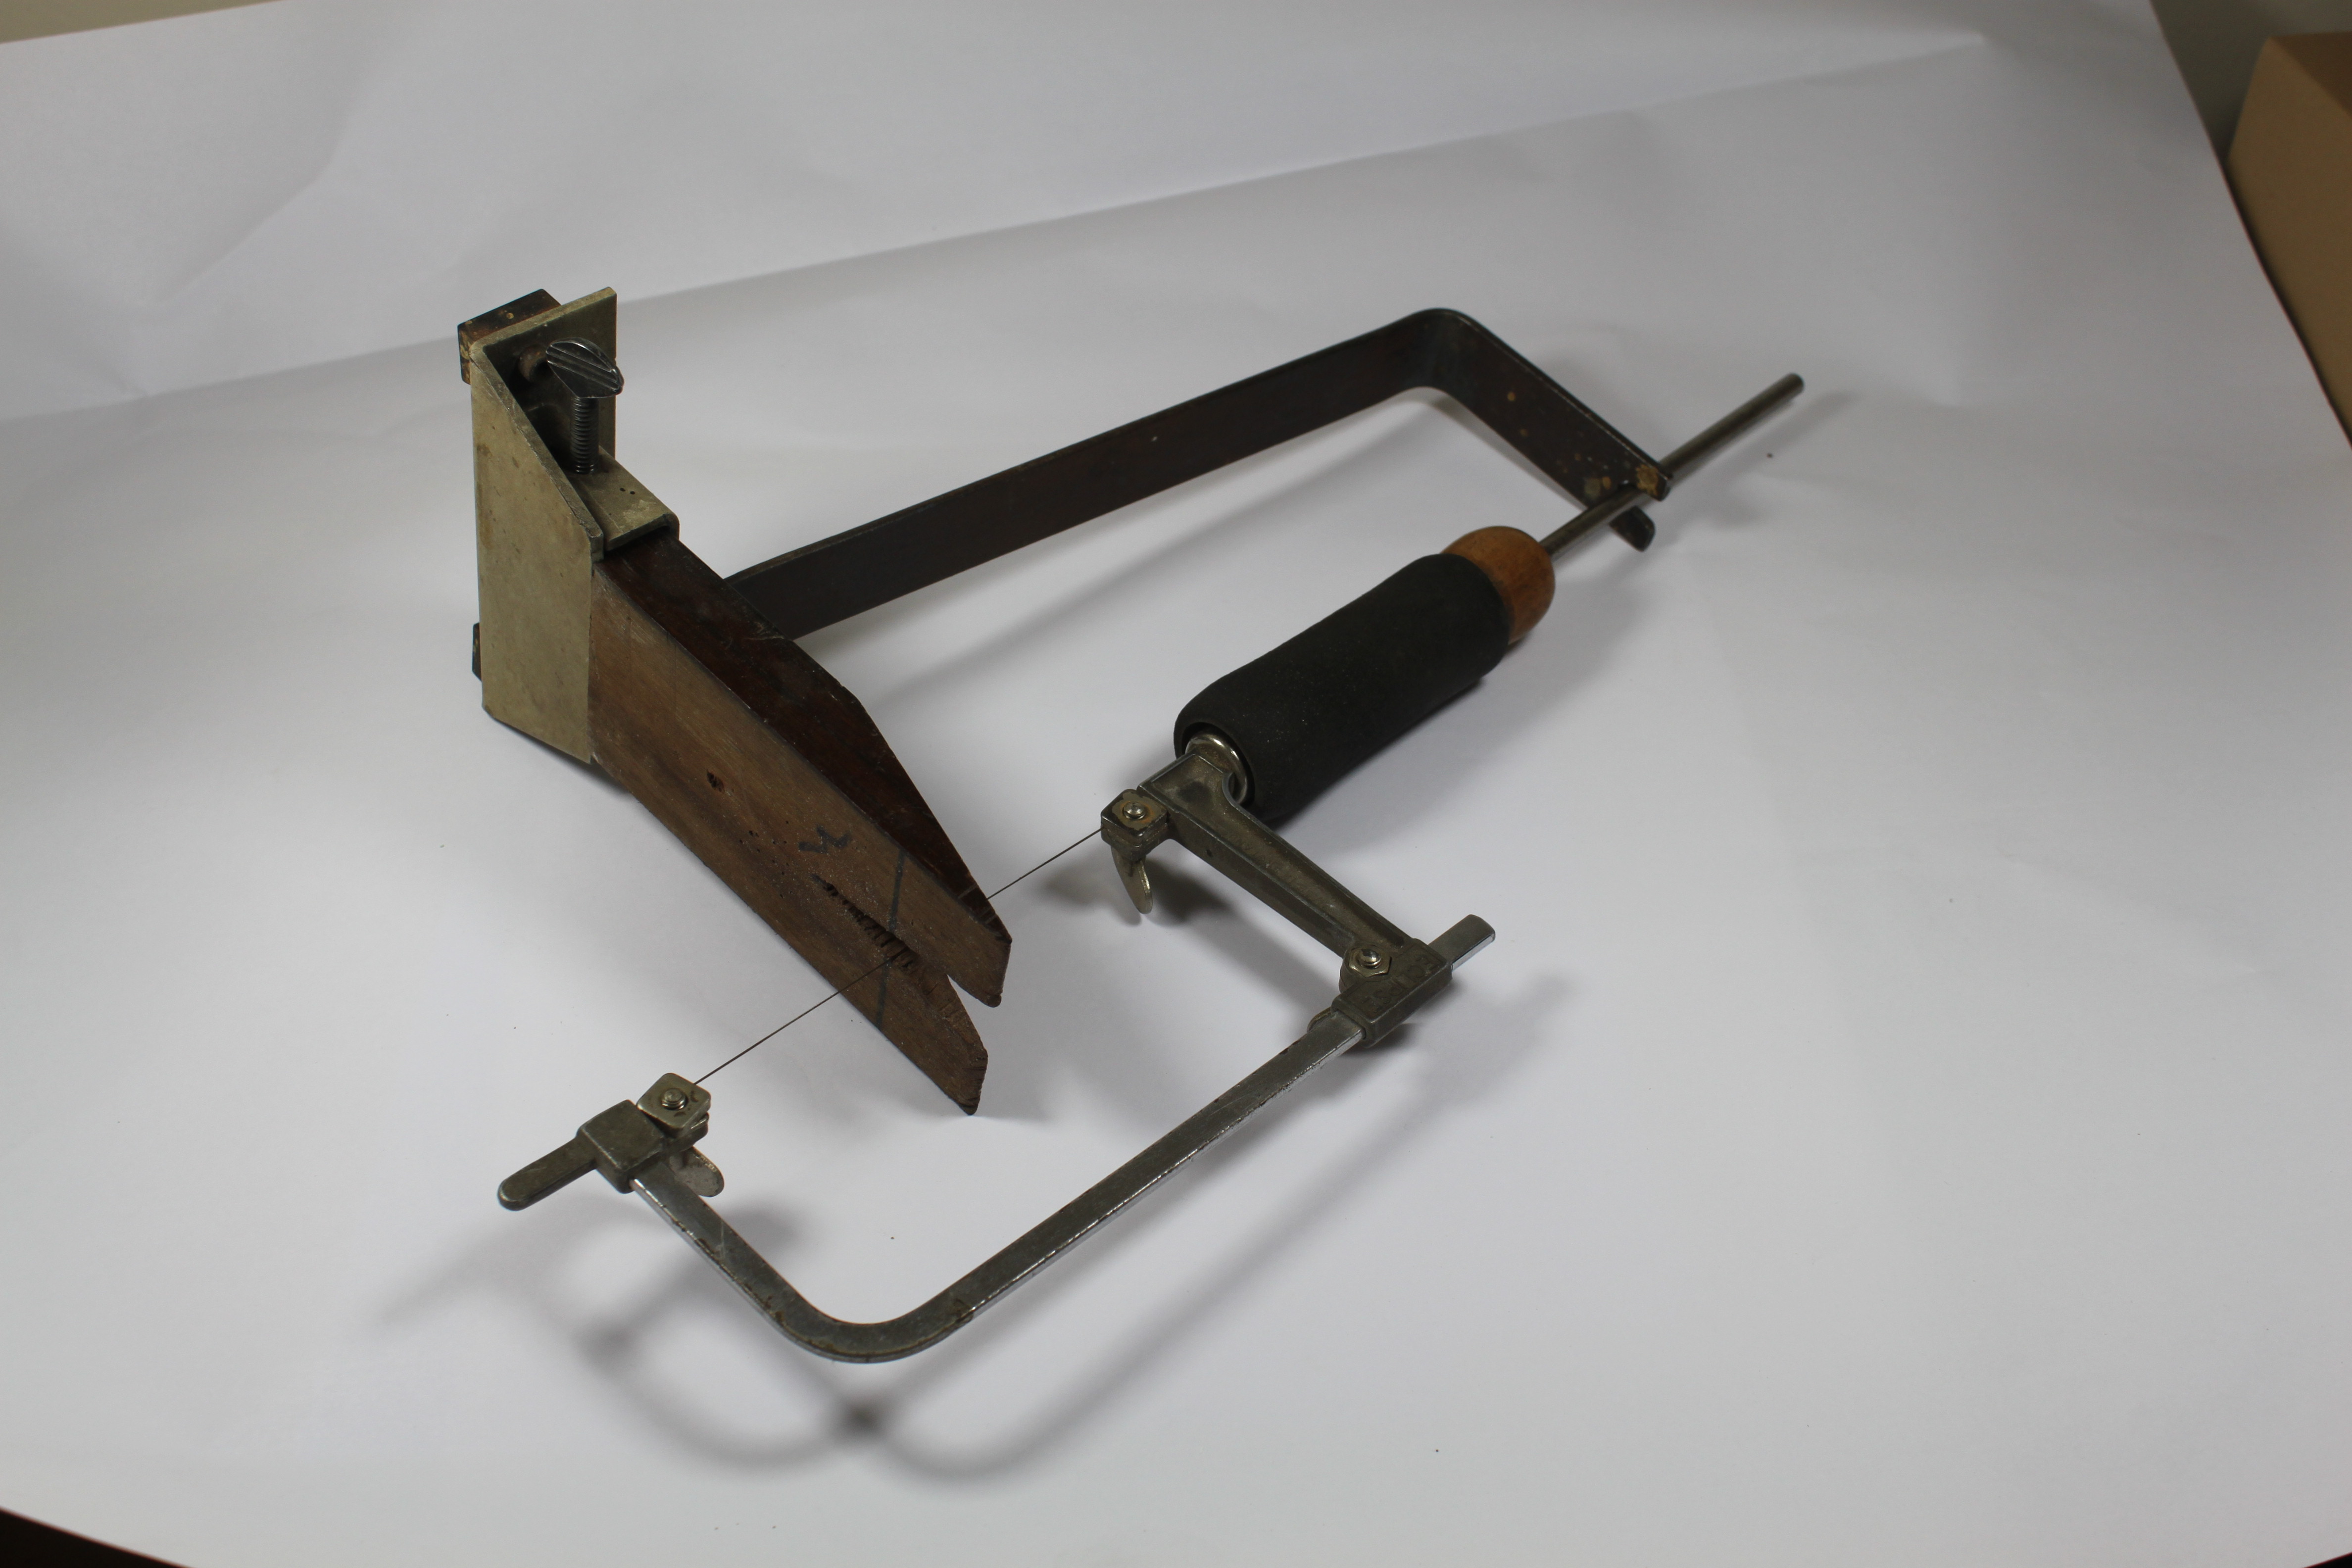
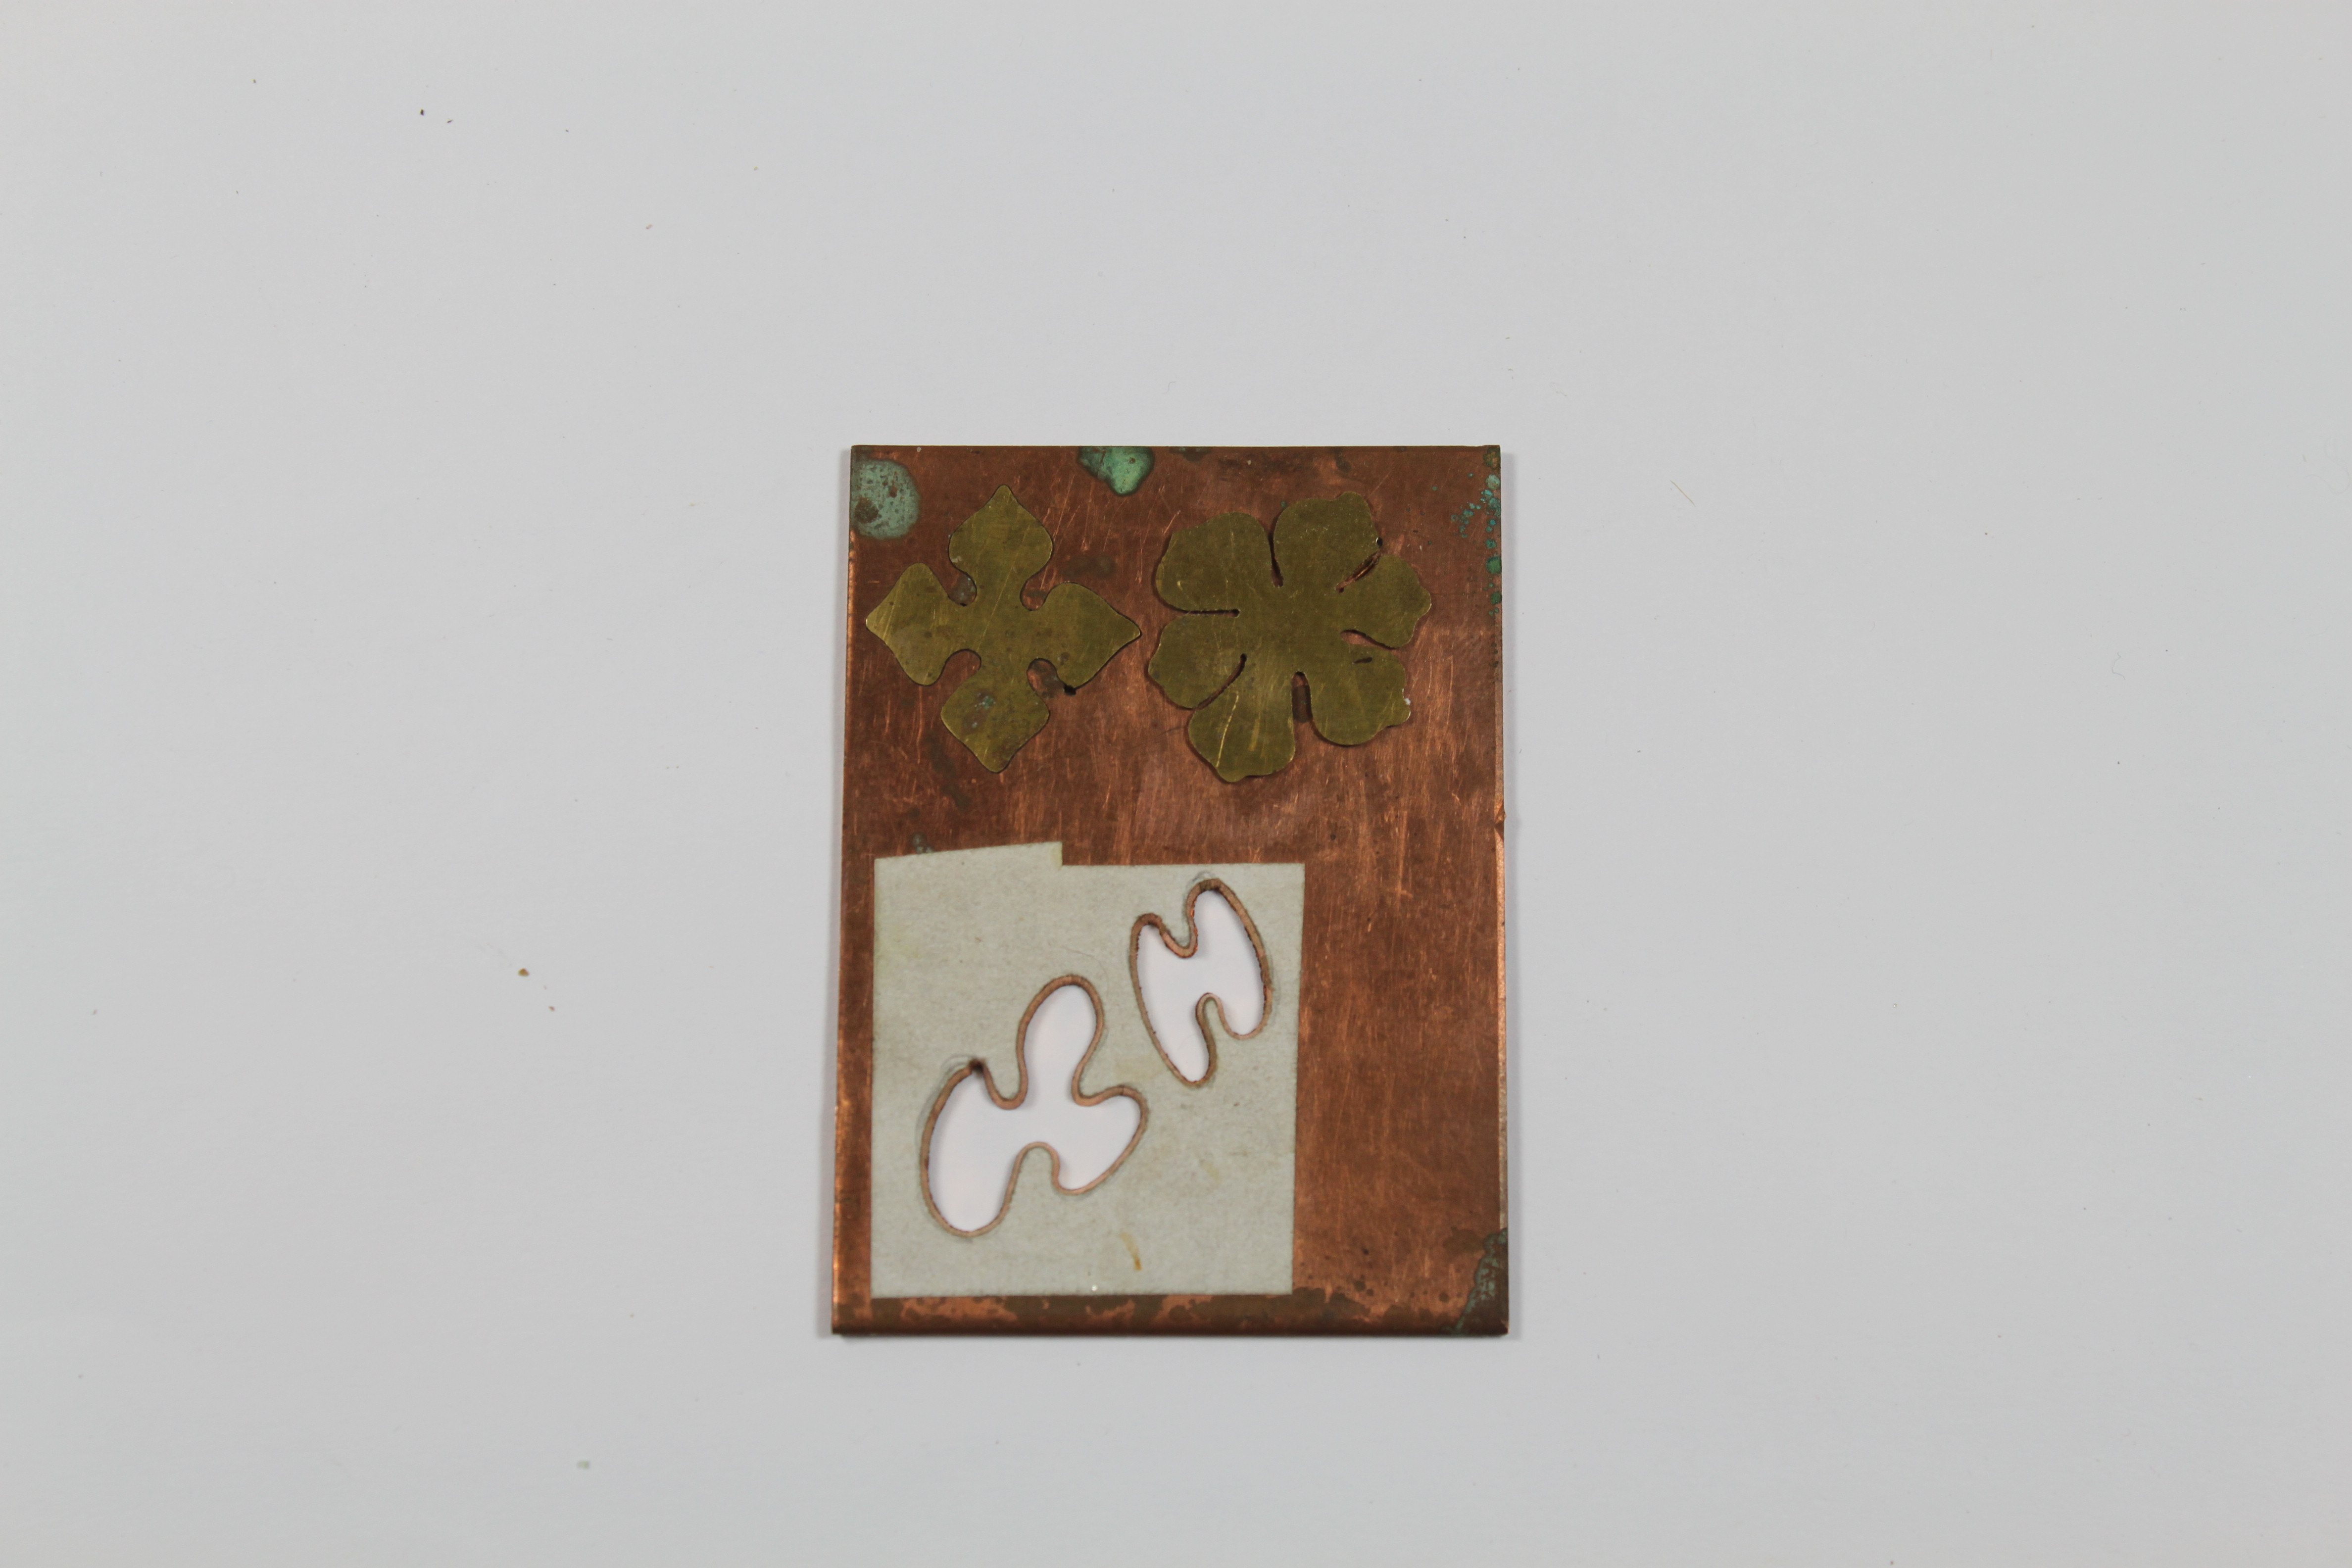
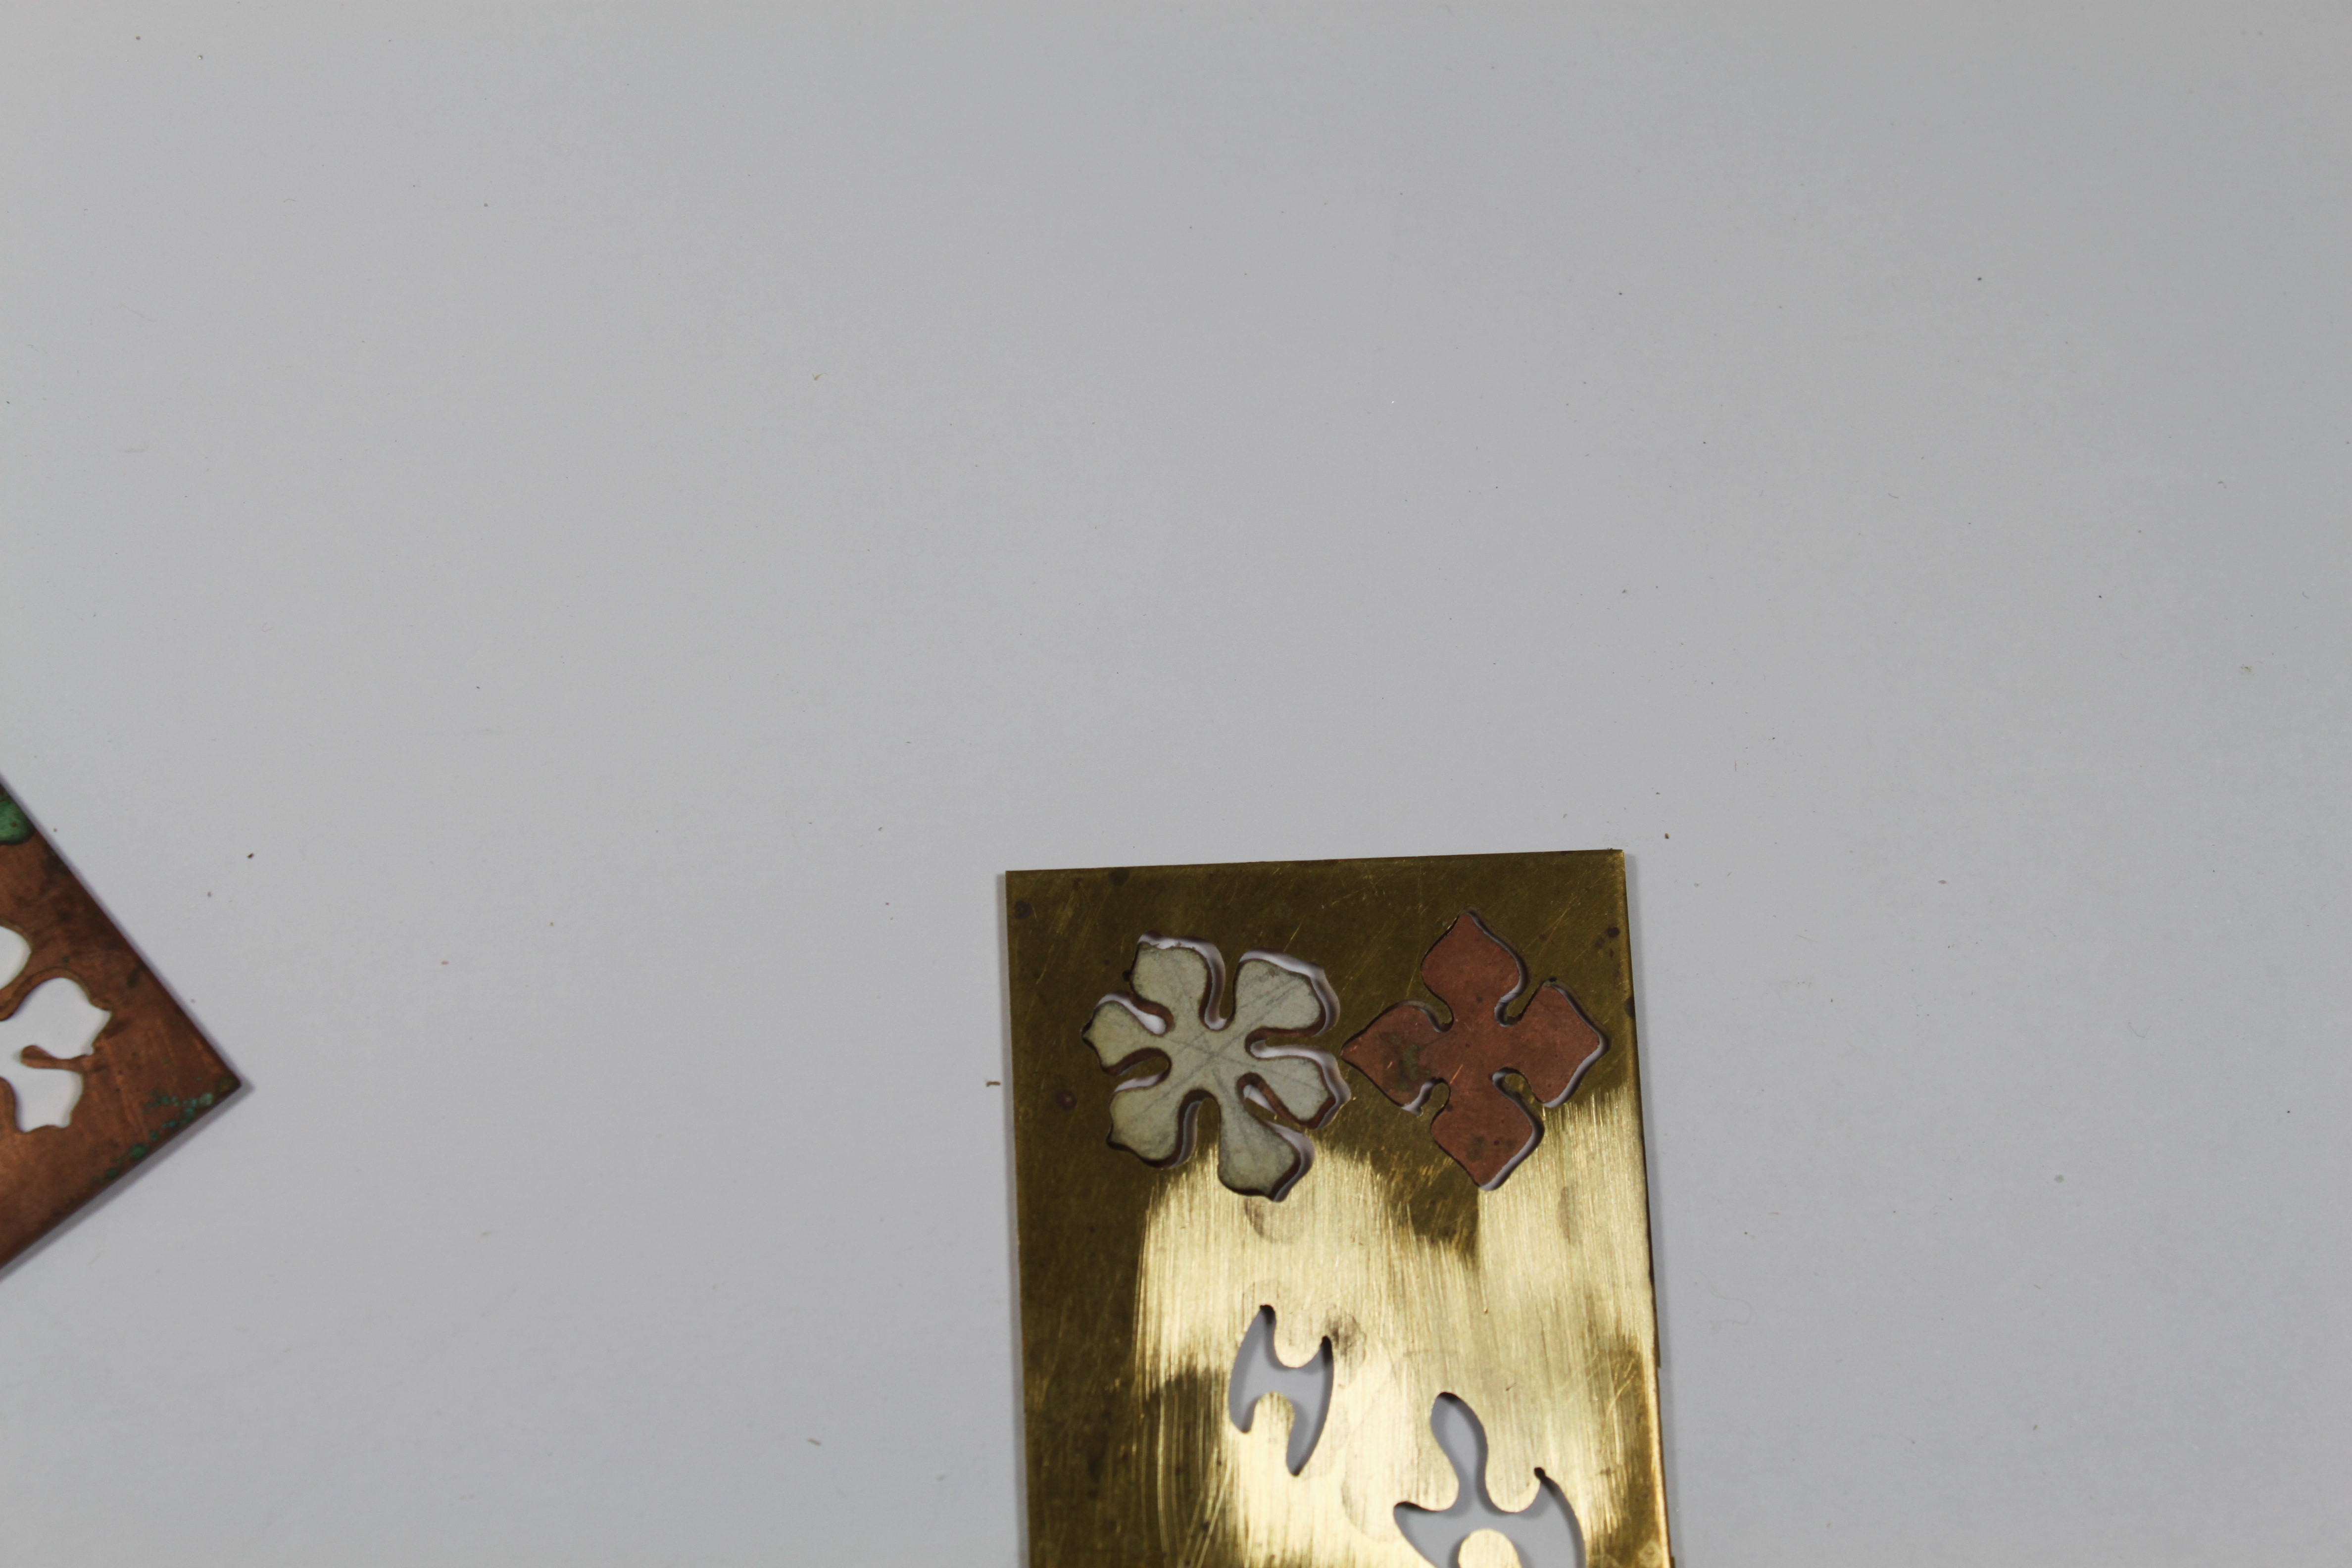
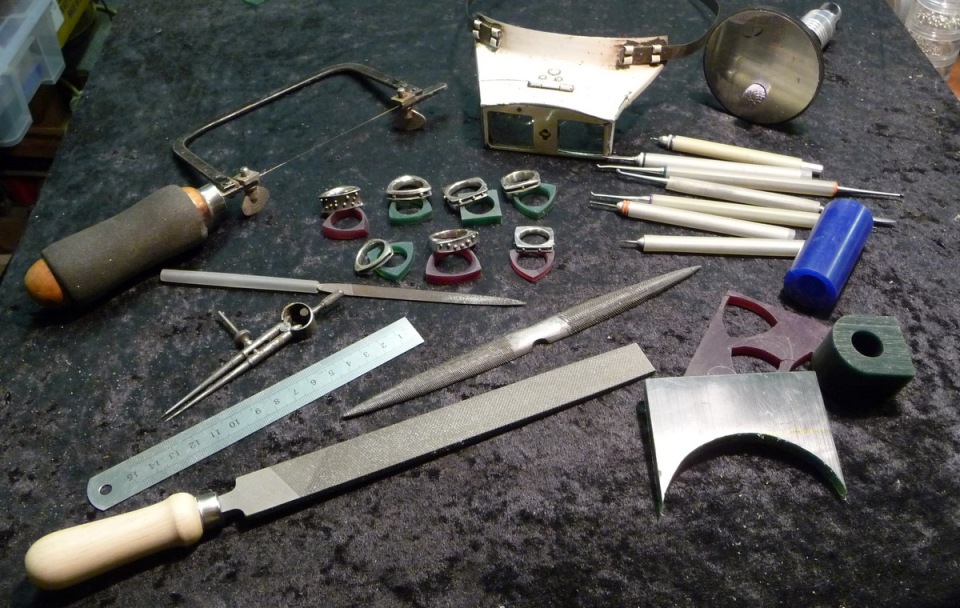
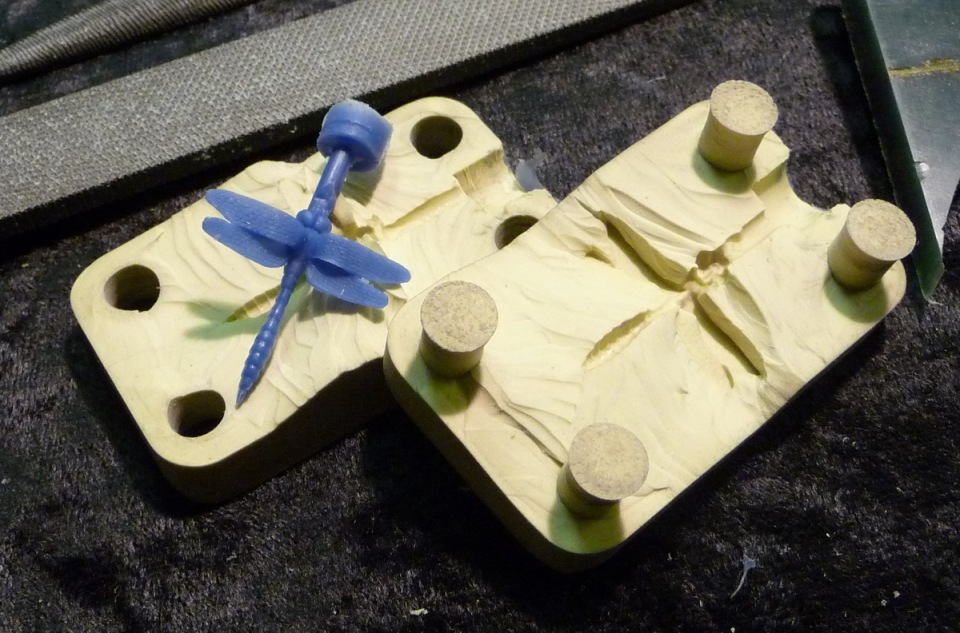
There is a lot to get through in three days, it took me a lot longer than that, so think of the course as an introduction. We will be going through all the processes, carving a wax, investing it in plaster, casting, finishing and making a mould so that more waxes can be made. With the extra time I plan to show you various methods of room temperature rubber mould making. It would be a good idea if you had a design already in mind, it doesn’t have to be a fabulous working drawing, a sketch will do, just so that I can get you all started as quickly as possible. I recommend that is not too complicated, better to start simple and progress to more intricate designs later! I just thought it would be relevant to your work. Don’t worry if you haven’t got anything particular in mind, I will show you some ideas.
I will provide all the tools and equipment that you will need, please bring an apron, notepad and pen, and your glasses if you wear them. Sorry to be obvious, people do forget!
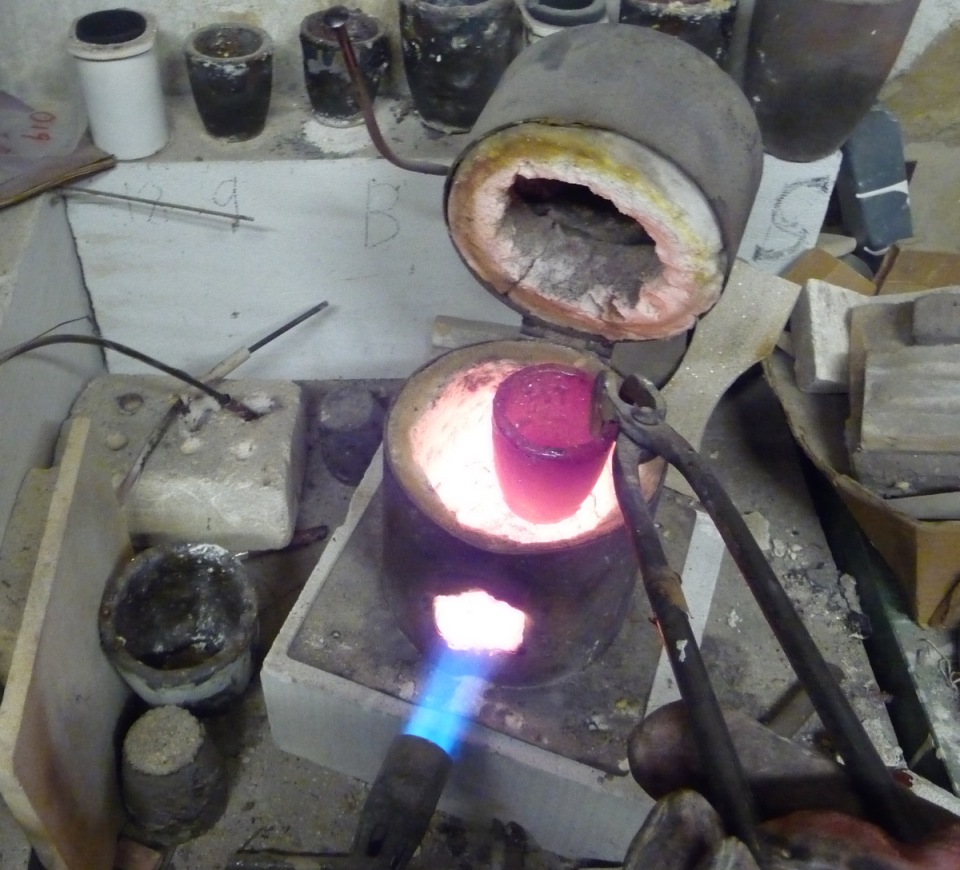
When we are casting you MUST do as I say. It is not particularly dangerous, but molten metal must be respected. I will cast for you if you like, some like to do it themselves, some don’t, it’s not a competition.
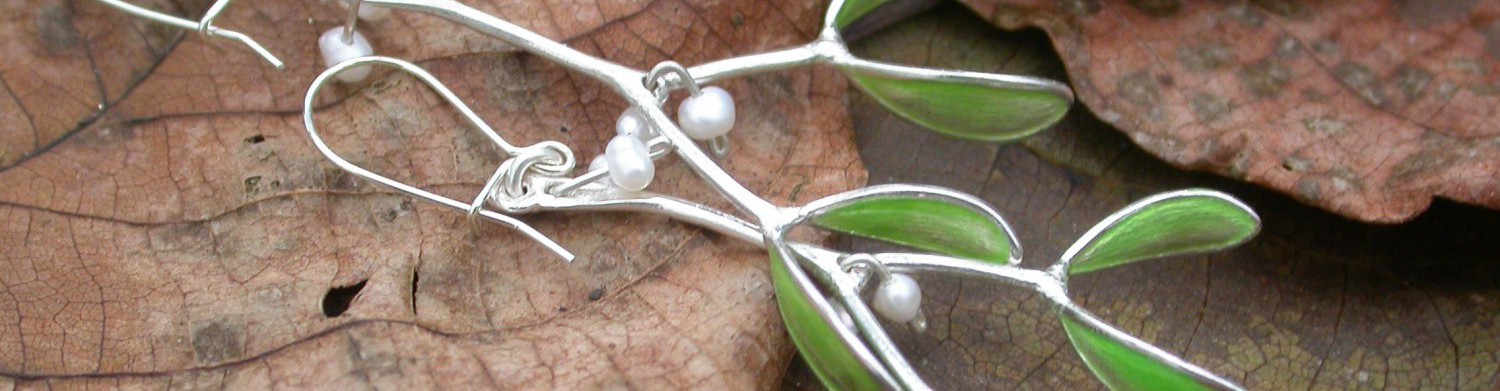
My aim is to show you the whole process, setting up to be a caster is a big venture, but it is straightforward and low cost to carve a wax and send it off to a trade caster for a modest charge. You don’t need to be a jeweller already, When I started running these classes I aimed them at jewellers who had perhaps never done casting, but I soon found that anyone who had some craft skills could pick it up.
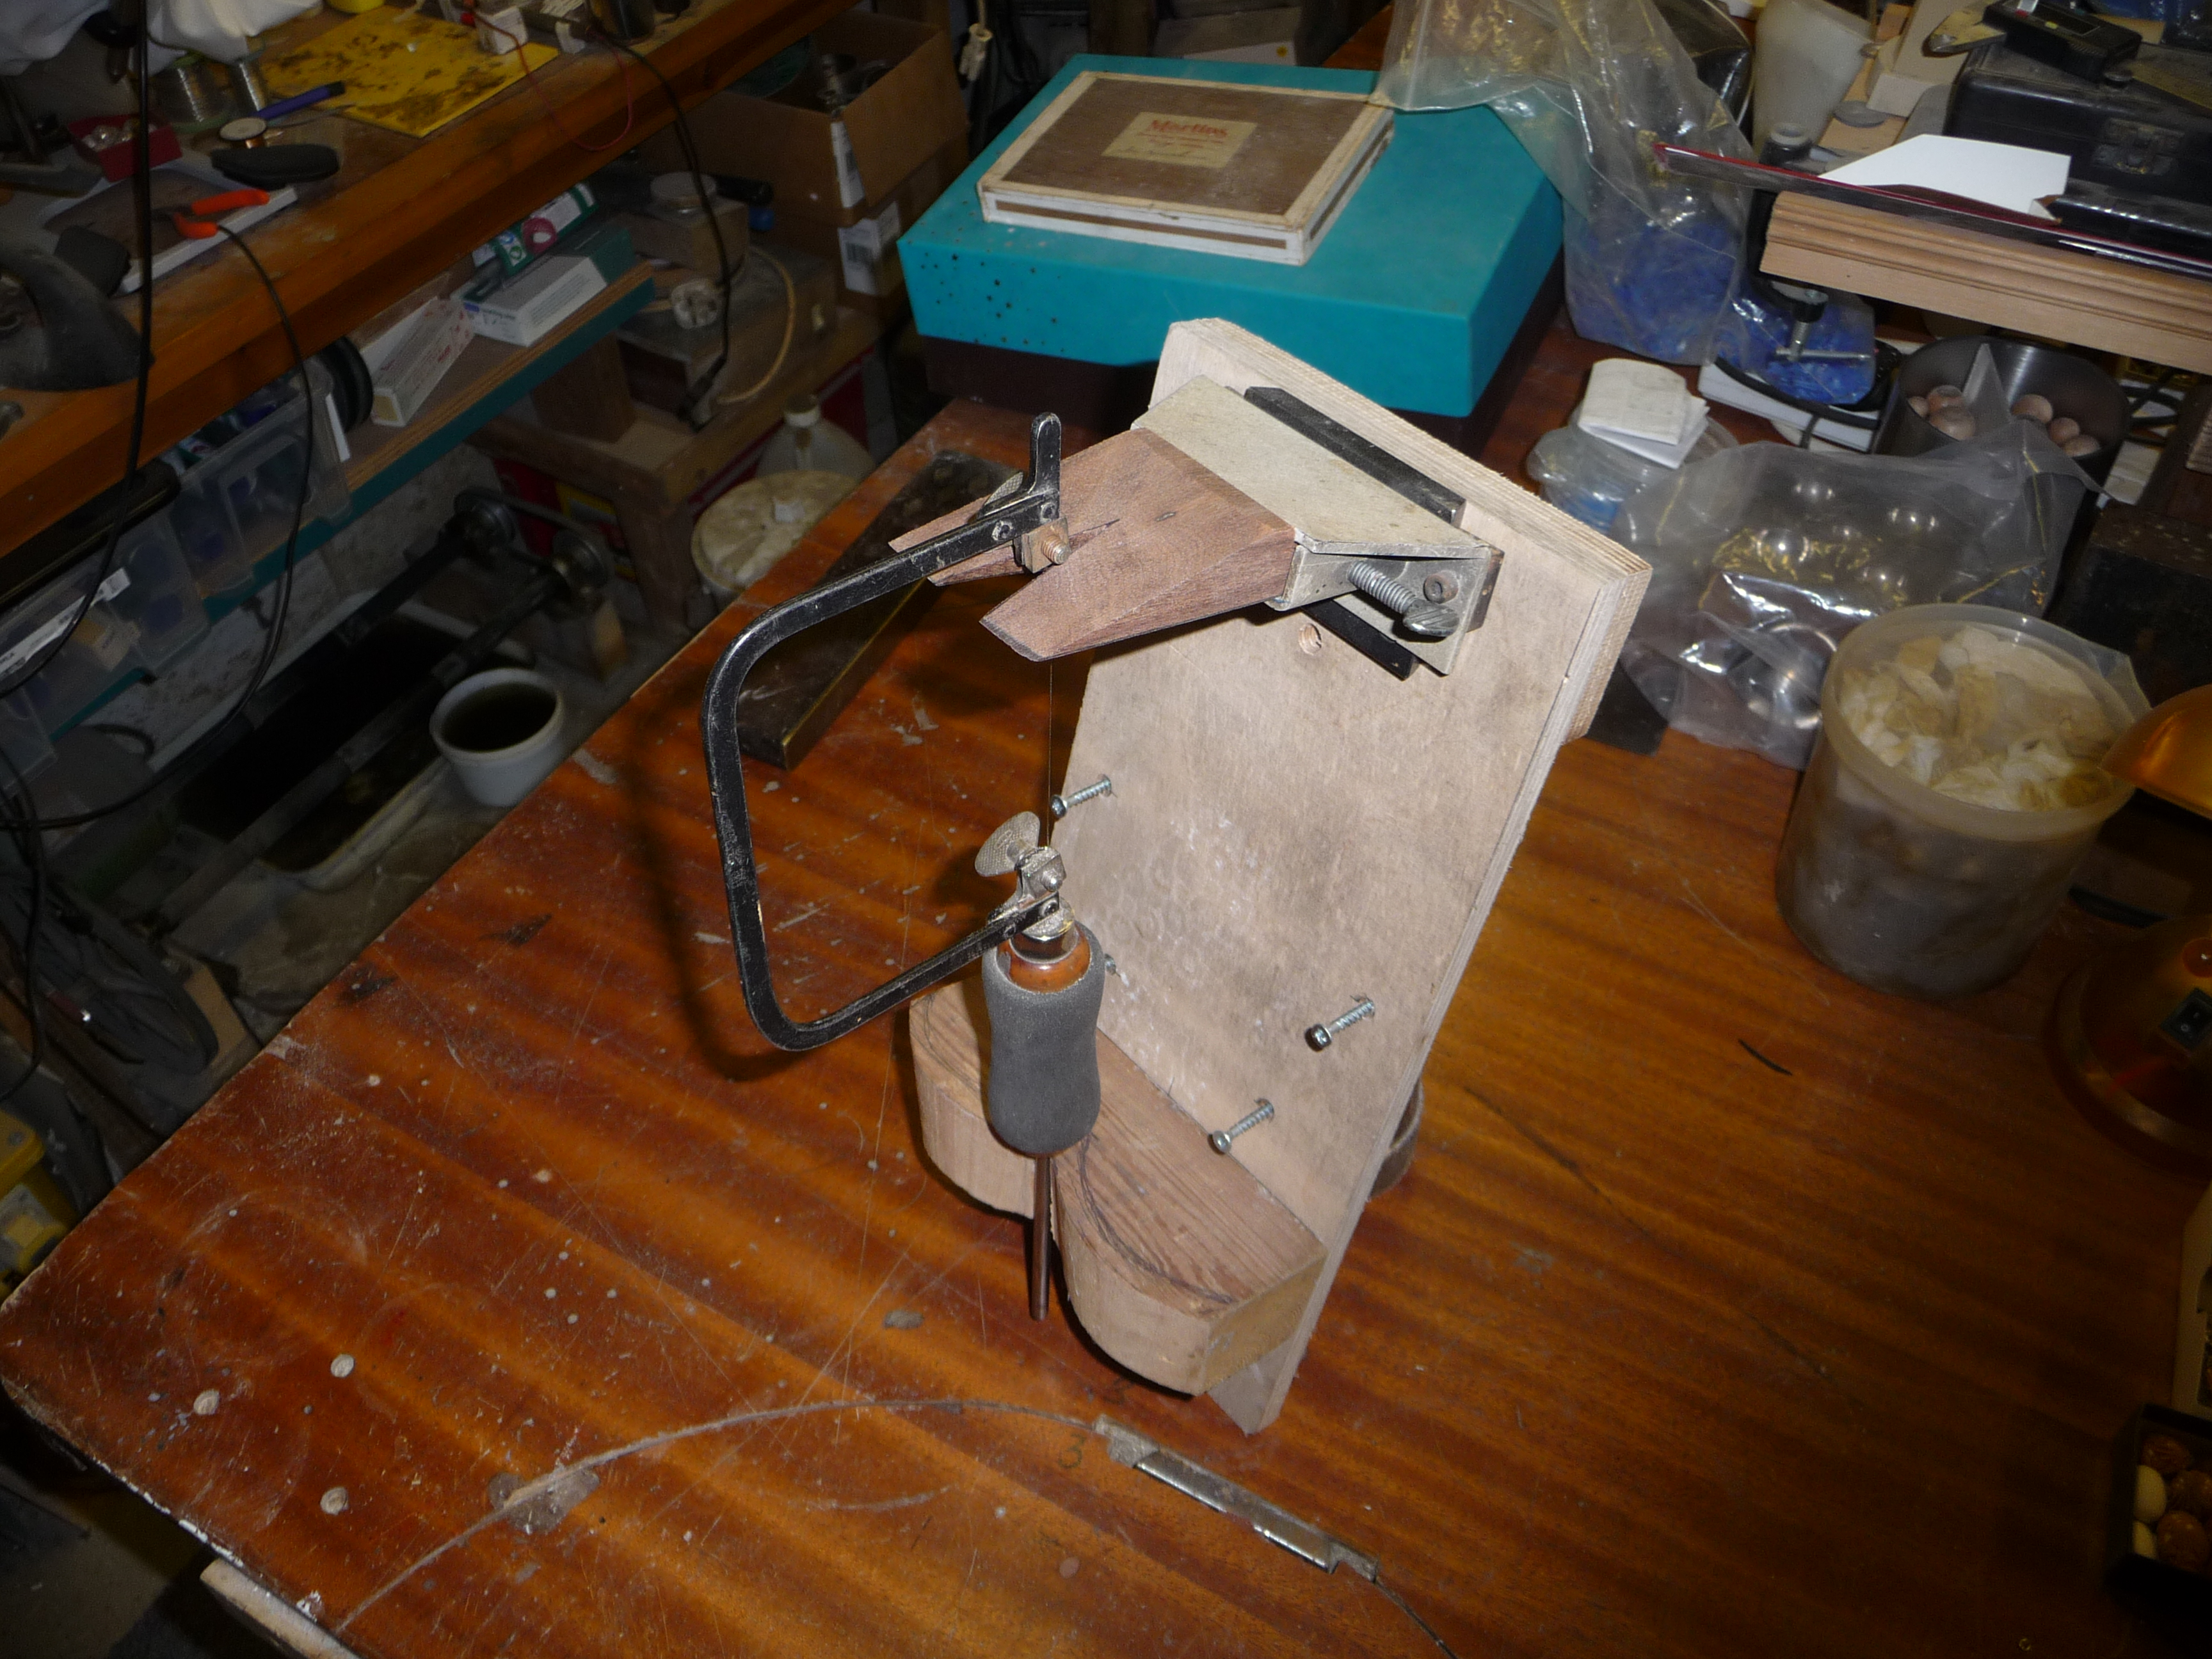
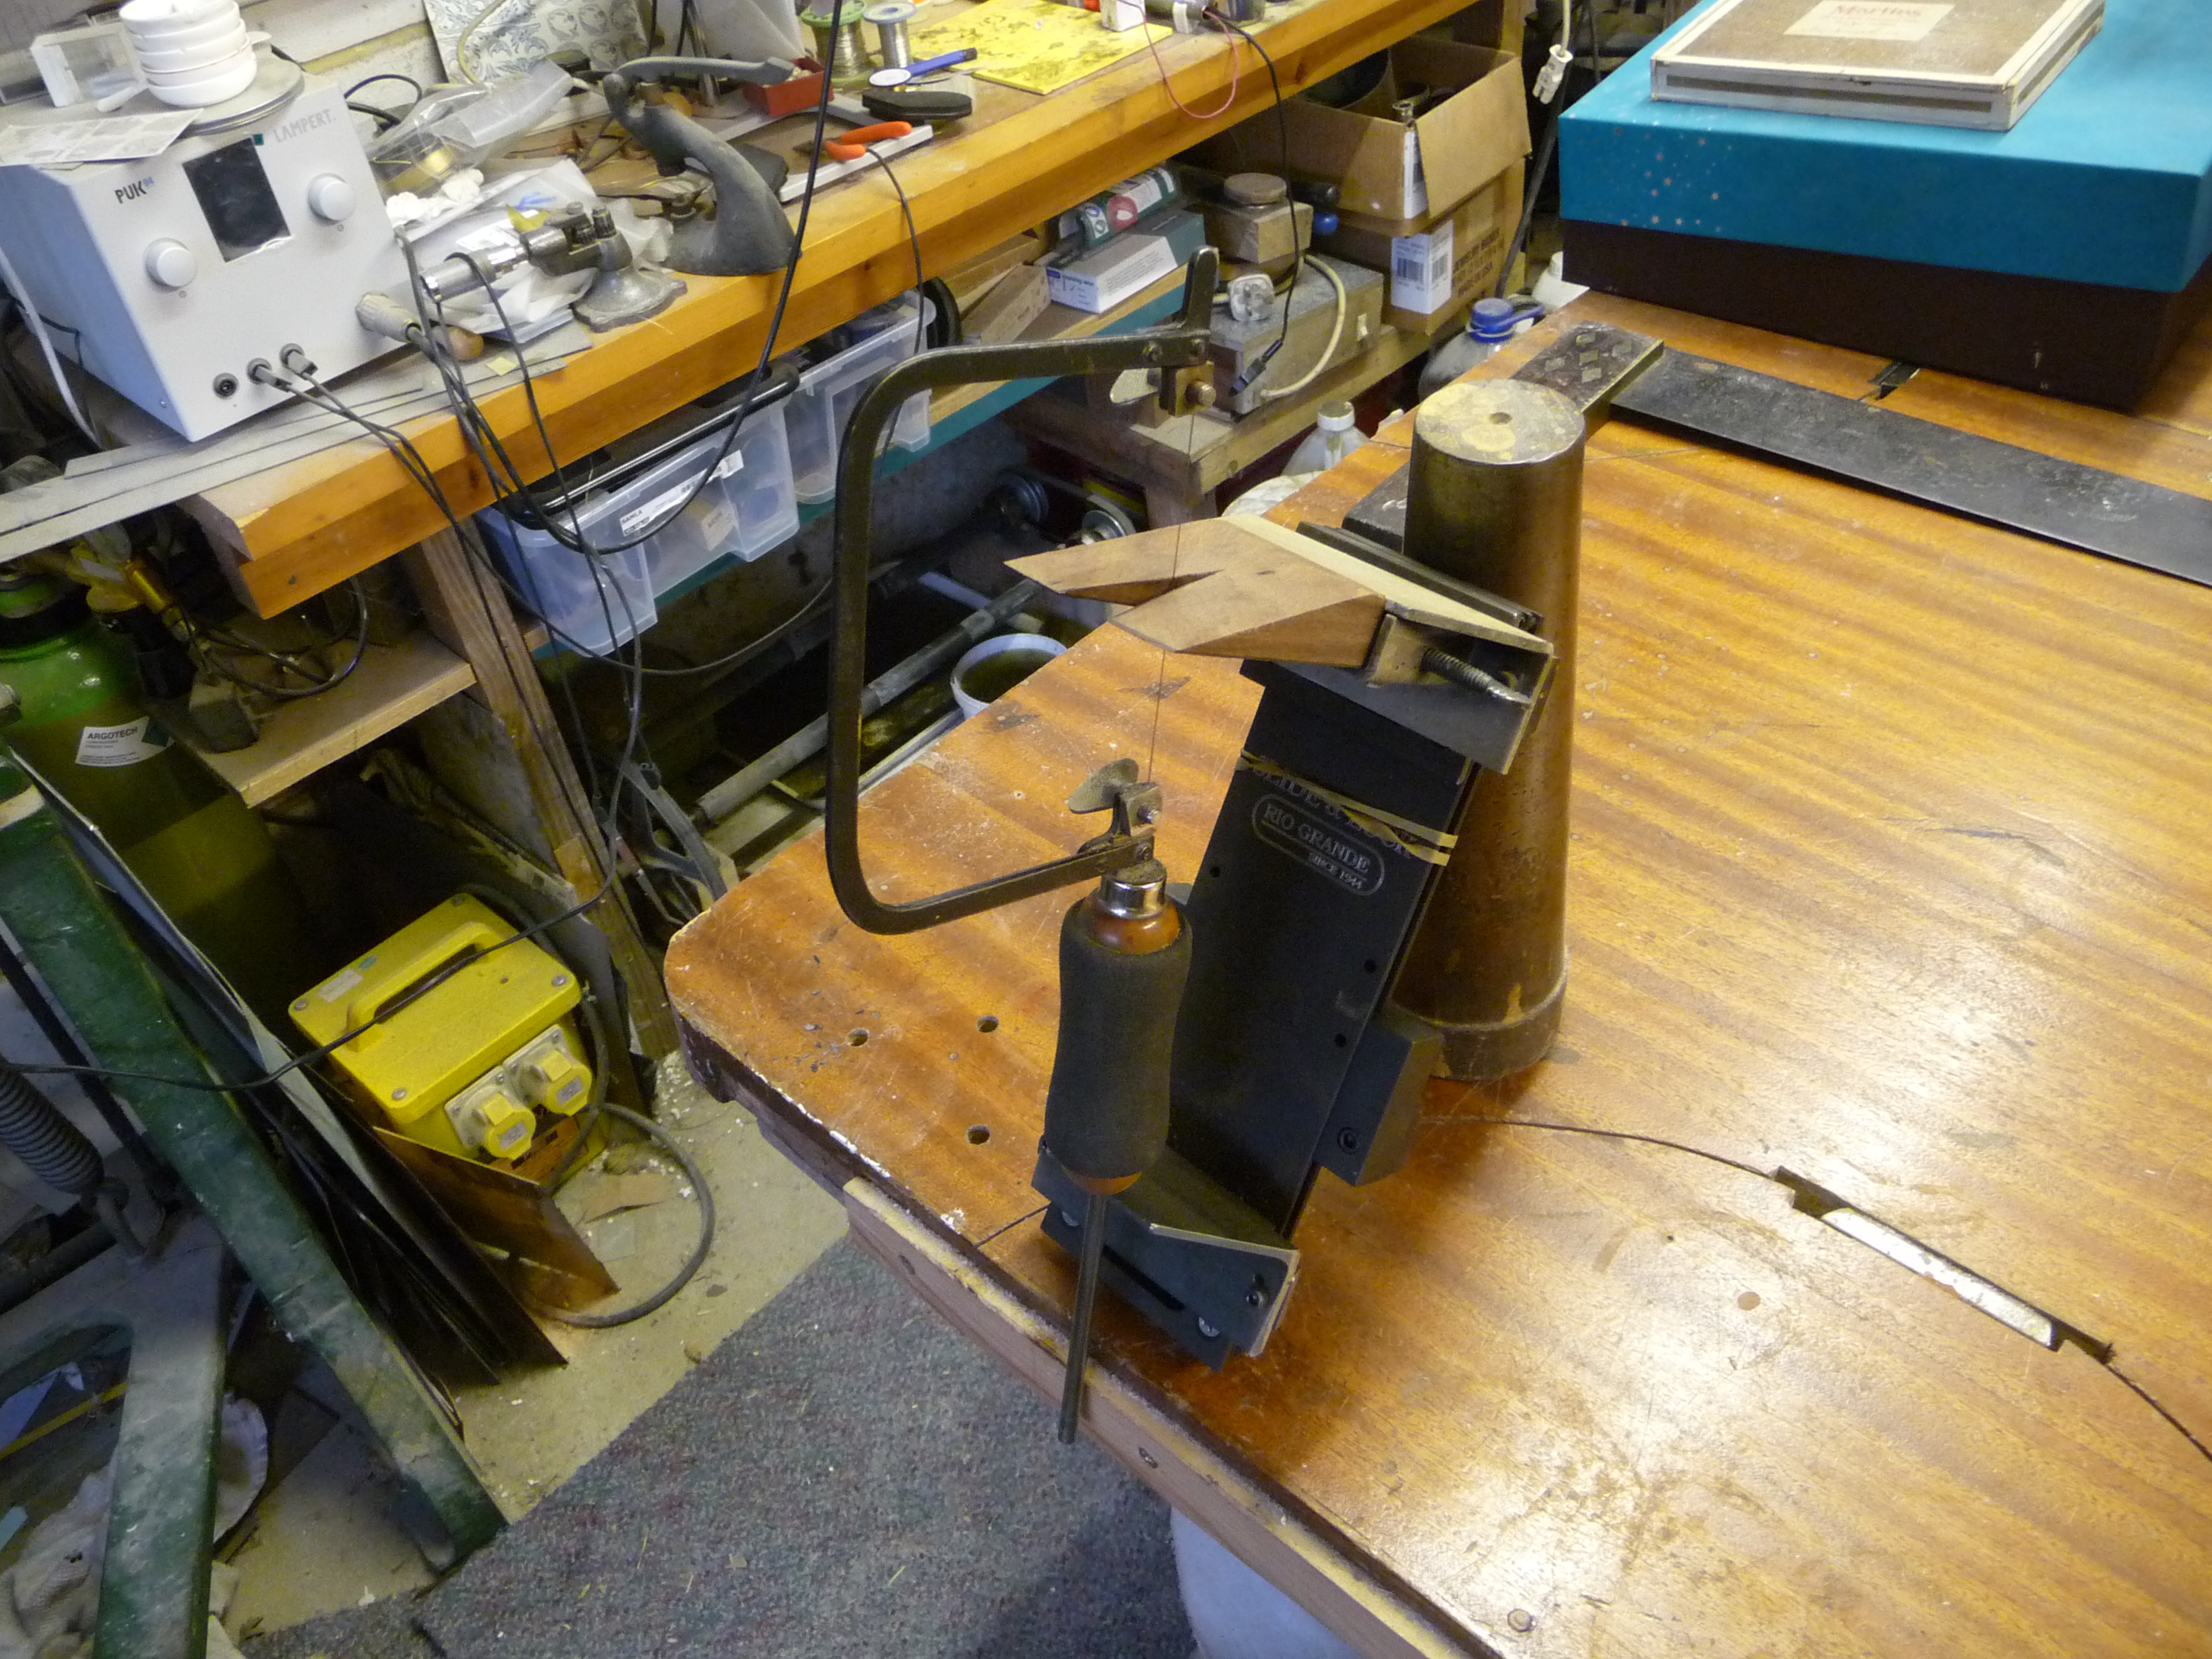
I will tell you where to get more information, there is one particularly good book, and where to get tools and supplies. Depending on what you do you can often make your own tools, I will show you what I have made and you will make the tool I use the most. I will have a small selection of the most commonly used tools for sale, my aim is to put you in a position to carve your own waxes and start making cast jewellery!
If you have any questions do please ask. I will provide lunch and drinks and snacks during the day.
The cost of the class is £400.00 for the three days, 9.00am- 5.00pm. I have space for five people.
This includes all materials up to 15 grams of silver, if you want to do something larger I will have extra supplies at cost. You can cast in bronze if you like, to give you some idea, silver is about 40p/gm, bronze is 2p/gm.
My workshop is in the countryside in the very south of Gloucestershire, there are Bed and Breakfast places nearby if you are coming from a distance. Contact me if you have any questions.